
Introduction
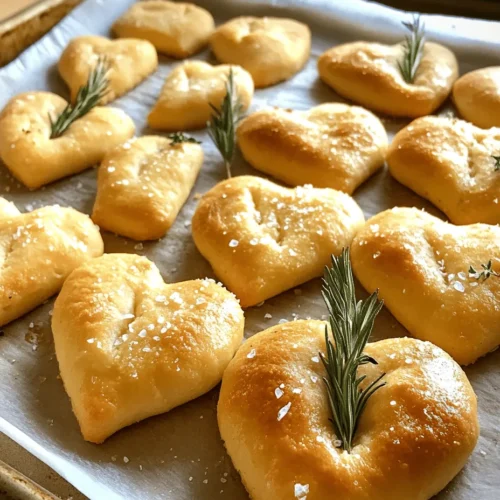
When it comes to expressing love and creativity in the kitchen, few recipes capture the essence quite like heart-shaped breadsticks. These delightful treats not only add a charming touch to any meal but also serve as a testament to the joys of homemade cooking. Whether you’re celebrating a special occasion, hosting a romantic dinner, or simply looking to brighten up a family gathering, these heart-shaped breadsticks are sure to impress. Their playful shape and warm, inviting aroma create an atmosphere of togetherness, making them an ideal addition to your table.
The allure of homemade breadsticks goes beyond their enticing shape. The process of baking from scratch transforms a simple meal into a memorable experience. Unlike store-bought options, which can often lack freshness and flavor, homemade breadsticks offer a unique opportunity to customize ingredients and enhance each bite. Imagine pulling a warm batch of heart-shaped breadsticks out of the oven, their golden crust glistening and inviting. The satisfaction of crafting these delightful snacks with your own hands is not only rewarding but also a fantastic way to bond with loved ones in the kitchen.
The Joy of Baking Homemade Breadsticks
Baking breadsticks from scratch is an enjoyable and fulfilling endeavor. The act of kneading dough, watching it rise, and finally shaping it into whimsical forms brings a sense of accomplishment that store-bought alternatives simply cannot match. Each stage of the process is an invitation to engage your senses: the feel of the dough beneath your hands, the heady scent of yeast as it activates, and the anticipation as the breadsticks bake to perfection.
Homemade breadsticks also allow for a level of customization that pre-packaged versions cannot offer. Whether you prefer them seasoned with garlic and herbs or adorned with a sprinkle of cheese, the possibilities are endless. This flexibility not only caters to personal preferences but also makes it easy to accommodate dietary restrictions. By choosing fresh, wholesome ingredients, you can create a snack that’s not only delicious but also aligns with your health goals.
Moreover, breadsticks are the perfect complement to a variety of meals. They can elevate a simple soup or salad into a gourmet experience or serve as a delightful side for a romantic pasta dinner. The heart shape adds an extra layer of charm, making them particularly suited for celebrations of love, such as Valentine’s Day, anniversaries, or even a cozy dinner for two.
Ingredient Breakdown
To create the perfect heart-shaped breadsticks, it’s essential to understand the role of each ingredient. Let’s take a closer look at what you’ll need:
All-Purpose Flour
The foundation of any good breadstick is high-quality all-purpose flour. It provides the structure needed for the dough, allowing it to rise while still maintaining a pleasant chew. Look for unbleached all-purpose flour for the best flavor and texture.
Warm Water and Yeast
The magic of breadsticks lies in the activation of yeast. Warm water is crucial—ideally, it should be between 105°F and 110°F (40°C to 43°C) to properly activate the yeast. This combination creates the rise that gives breadsticks their light and airy texture.
Olive Oil
Adding olive oil not only enhances the flavor but also contributes moisture to the dough. It helps create a tender crumb and adds richness to each bite. Extra virgin olive oil is a great choice for its robust flavor profile.
Sugar and Salt
Sugar serves a dual purpose in this recipe. It not only feeds the yeast, helping it to activate, but also adds a hint of sweetness to balance the flavors. Salt, on the other hand, enhances the overall taste and helps to control the fermentation process, ensuring a well-developed flavor.
Optional Ingredients
To take your breadsticks to the next level, consider incorporating optional ingredients like garlic powder or Italian herbs. These additions can infuse your breadsticks with delightful flavors, making them even more irresistible. Additionally, an egg wash before baking can give your breadsticks a beautiful golden color and a shiny finish.
Egg Wash and Garnishes
Finally, an egg wash made from beaten egg will provide a rich, glossy appearance to your heart-shaped breadsticks. You can also sprinkle sesame seeds, poppy seeds, or grated cheese on top for an extra touch of flavor and presentation.
Step-by-Step Guide to Making Heart-Shaped Breadsticks
Activating the Yeast
The first step in creating your heart-shaped breadsticks is to activate the yeast. In a mixing bowl, combine warm water with sugar and yeast. Allow it to sit for about 5-10 minutes, or until the mixture becomes frothy. This indicates that the yeast is alive and ready to work its magic. It’s crucial to keep an eye on the temperature of the water; too hot and you’ll kill the yeast, too cold and it won’t activate.
Making the Dough
Once your yeast is activated, it’s time to make the dough. In a large bowl, combine the activated yeast mixture with olive oil, salt, and gradually add all-purpose flour. Stir with a wooden spoon until the ingredients begin to come together. The goal here is to create a shaggy dough that starts to pull away from the sides of the bowl.
Kneading the Dough
Next, transfer the dough onto a lightly floured surface. Kneading is an essential step that develops the gluten structure, giving your breadsticks the desired chew. To knead, fold the dough over itself and push it down with the heel of your hand, then rotate it a quarter turn and repeat. Continue kneading for about 8-10 minutes, or until the dough is smooth and elastic. You can perform the “windowpane test” by stretching a small piece of dough; if it stretches without tearing, you’ve achieved the right consistency.
The First Rise
After kneading, shape the dough into a ball and place it in a lightly greased bowl. Cover the bowl with a clean kitchen towel or plastic wrap and let it rise in a warm, draft-free area for about 1-2 hours, or until it has doubled in size. This first rise is vital for developing flavor and texture, so be patient. You can speed up the process by placing the bowl in a slightly warm oven (turned off) or near a warm stovetop.
As the dough rises, you’ll have time to prepare for the next steps, including shaping your heart-shaped breadsticks and considering how you’d like to serve them. This anticipation builds the excitement for what’s to come: a delightful addition to your meal that’s both visually appealing and delicious.
Stay tuned for the continuation of this recipe, where we’ll explore shaping the dough into hearts and baking these delightful breadsticks to golden perfection.
Shaping the Heart
Once your dough has risen beautifully, it’s time to shape your heart-shaped breadsticks. This step is not only fun but also allows you to infuse a personal touch into your baking.
Instructions for Dividing and Rolling the Dough
1. Divide the Dough: After the first rise, punch down the dough to release any trapped air. Then, divide the dough into equal pieces. For standard-sized breadsticks, aim for about 10-12 pieces, each weighing approximately 1-2 ounces. This ensures uniformity in cooking time and texture.
2. Roll the Strands: Take one piece of dough and roll it into a long, thin strand, about 12-14 inches long. To achieve a smooth, even shape, start by pressing down gently with your palms and then use your fingers to elongate the dough. If the dough resists stretching, let it rest for a few minutes before continuing. This resting period helps relax the gluten, making it easier to shape.
Forming Heart Shapes and Securing the Ends
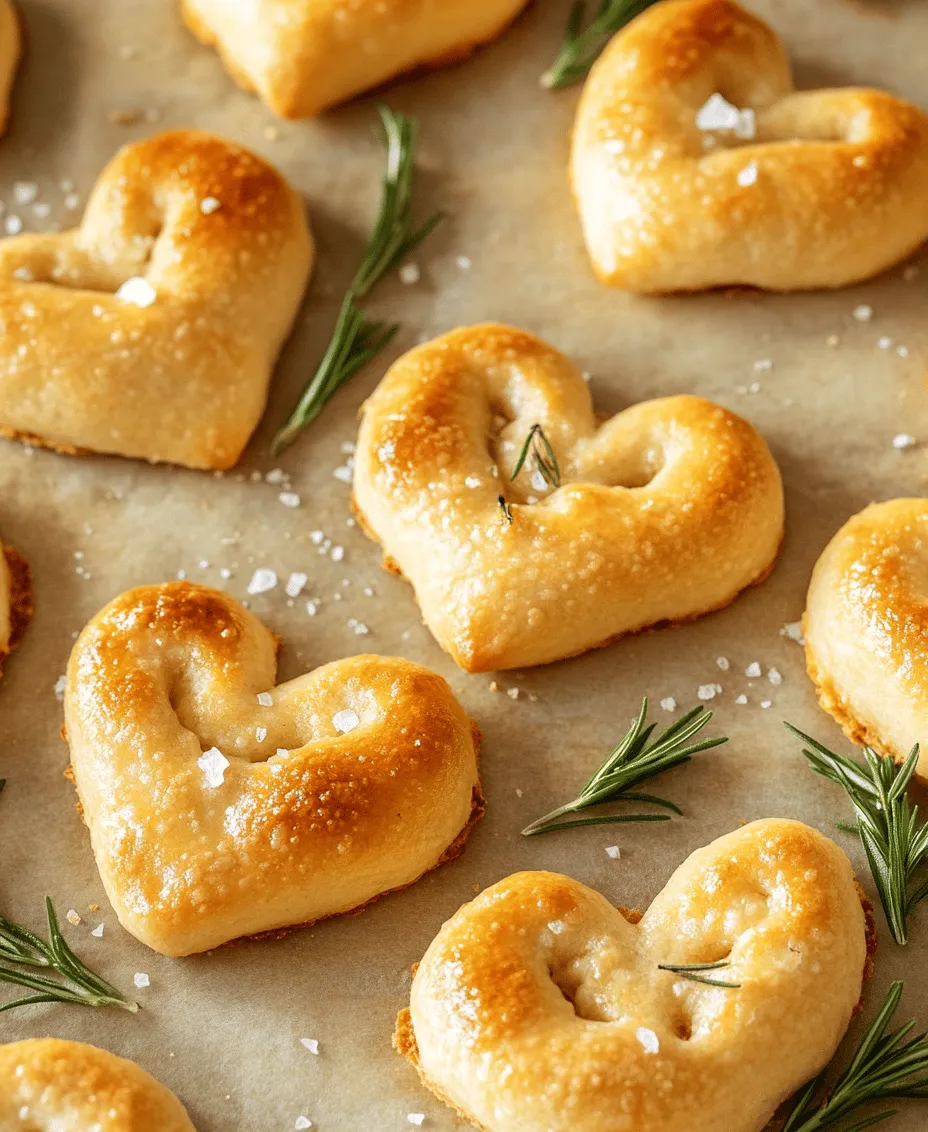
3. Create the Heart Shape: Once you have your strand, form it into a heart shape by taking one end and curving it up to create the top of the heart. Do the same with the other end, bringing it to meet the first end at the top. Then, press the ends together gently to secure the shape.
4. Secure the Base: To form the bottom of the heart, pinch the two ends of the strand together at the bottom point. This will help maintain the heart shape during the second rise and baking.
5. Achieving Uniformity: Ensure that all breadsticks are of similar size and shape. This is crucial for even baking. Use a kitchen scale if necessary, or simply eye each piece to gauge consistency. If you find some are larger than others, simply roll them out a bit more to match sizes.
Preparing for Baking
With your heart-shaped breadsticks formed, it’s essential to prepare them properly for baking to achieve that perfect texture and golden color.
Importance of the Second Rise
The second rise is crucial as it allows the breadsticks to become light and airy. Cover the shaped breadsticks with a clean kitchen towel or plastic wrap and let them rise for about 30-45 minutes in a warm environment. This step is essential because it allows the yeast to produce gas, which creates air pockets in the dough, resulting in a softer texture.
Preheating the Oven
While the breadsticks are rising, preheat your oven to 375°F (190°C). Preheating is vital for a few reasons: it ensures that the breadsticks start baking immediately, promoting a good rise and a crisp crust. An oven that’s not fully preheated can lead to uneven baking and flat breadsticks.
Egg Wash
To achieve a beautiful golden-brown finish, prepare an egg wash by whisking one egg with a tablespoon of water or milk. Brush this mixture over the tops of the breadsticks just before baking. The egg wash not only enhances color but also adds a subtle richness to the flavor. For an extra kick, consider sprinkling some coarse sea salt, garlic powder, or dried herbs like oregano or basil on top before baking.
Baking Process
Now that your breadsticks are shaped and ready, it’s time to bake them to perfection.
Optimal Baking Conditions
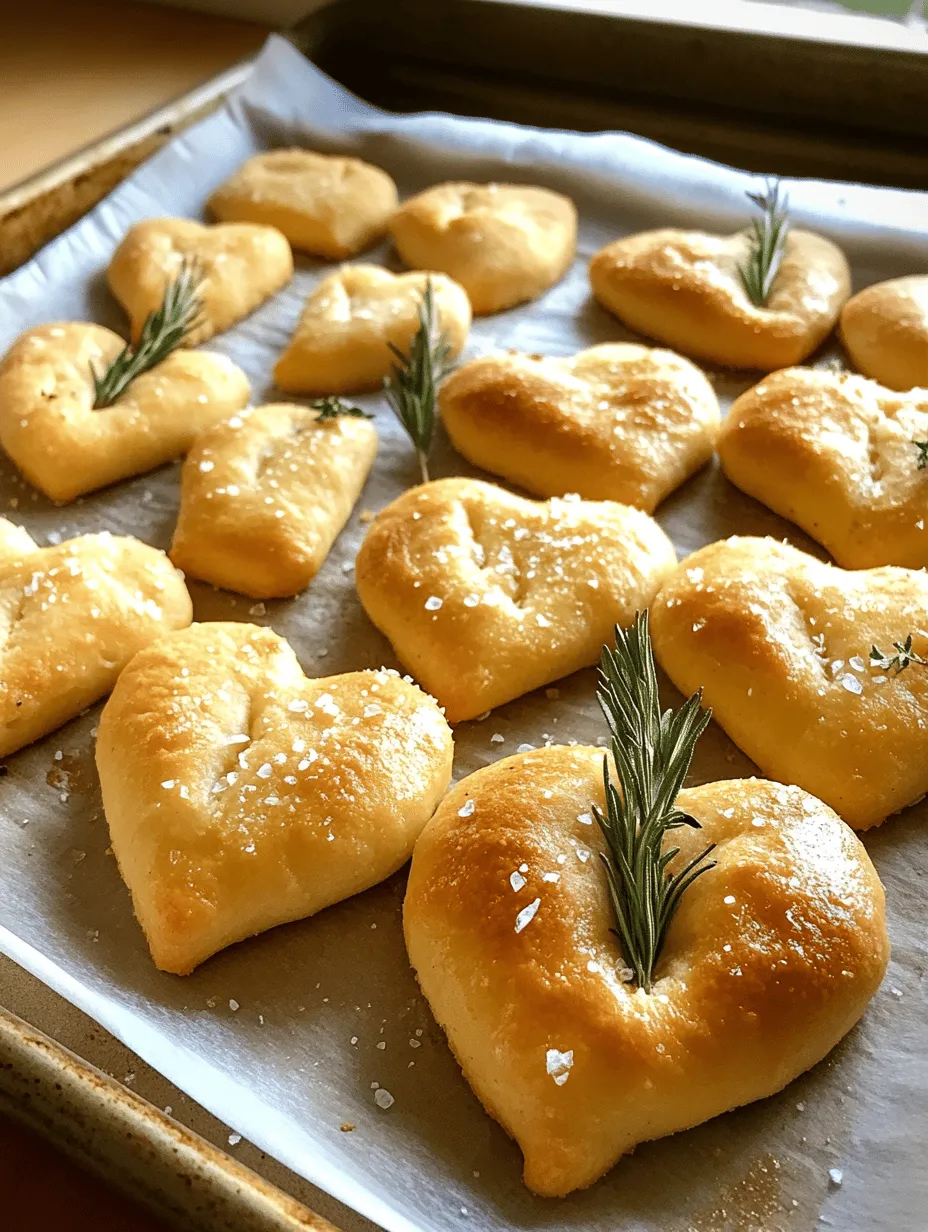
Place the heart-shaped breadsticks on a parchment-lined baking sheet, leaving space between each one to allow for expansion. Bake them in your preheated oven for 15-20 minutes. The ideal temperature for baking breadsticks ensures a nice crust while keeping the inside soft.
Signs to Look For
To check if your breadsticks are done, look for a golden-brown color and a slight firmness when gently tapped. If you prefer a more crusty exterior, you can bake them for an additional few minutes, but be cautious to avoid overbaking, which can lead to dryness.
Importance of Cooling
Once baked, remove the breadsticks from the oven and allow them to cool on a wire rack for about 5-10 minutes. This cooling period helps set the texture and prevents them from becoming soggy. Warm breadsticks are perfect for serving, but letting them cool slightly enhances the flavor and makes them easier to handle.
Serving Suggestions
Heart-shaped breadsticks are not just visually appealing; they can also be a versatile addition to your meals.
Creative Ways to Present
Serve your heart-shaped breadsticks in a fun and romantic way by placing them in a tall glass or jar, resembling a bouquet. Alternatively, lay them on a serving platter with a sprinkle of fresh herbs or parmesan for an elegant touch.
Pairing Ideas
These breadsticks pair wonderfully with a variety of dips. Traditional marinara sauce is always a hit, but you can also serve them with garlic butter, ranch dressing, or a creamy spinach dip for a more gourmet experience. For a fusion twist, try serving them with hummus or tzatziki for a Mediterranean flair.
Incorporating Into Meals
Use these heart-shaped breadsticks as a delightful side to your favorite pasta dishes, soups, or salads. They can also stand alone as an appetizer at parties or gatherings, sure to impress your guests with their whimsical shape and delicious flavor.
Storing and Reheating Leftovers
If you’re lucky enough to have leftovers, proper storage is key to maintaining their freshness.
Tips for Storing
Allow the breadsticks to cool completely before storing. Place them in an airtight container at room temperature for up to 2 days. For longer storage, you can freeze them in a freezer bag for up to three months. Just make sure to separate them with parchment paper to prevent sticking.
Best Practices for Reheating
To reheat, preheat your oven to 350°F (175°C). Place the breadsticks on a baking sheet and warm them for about 5-10 minutes. This method helps restore their crispiness. If you prefer, you can microwave them for 15-20 seconds, but be cautious as this can make them chewy rather than crispy.
Conclusion
Making heart-shaped breadsticks is not just about the delightful outcome; it’s about the joy of creating something special in your kitchen. The process—from mixing and kneading to shaping and baking—brings warmth and love to the forefront, making these breadsticks perfect for special occasions, holidays, or simply to share with loved ones.
So gather your ingredients, invite your family or friends to join in, and enjoy the satisfaction of baking these charming heart-shaped breadsticks. They are sure to bring smiles and warmth to your table, reminding us all of the love that homemade food brings to our lives. Whether you serve them as a romantic gesture or as a fun appetizer, these breadsticks will undoubtedly become a cherished addition to your culinary repertoire.